Figma is a Web design tool that provides real-time collaboration, smooth prototyping, and easy design at an affordable price, making it an instant demand among designers. Teams may collaborate with ease, wherever they are, thanks to Figma’s cloud-based approach, which differs from standard design platforms. Basically, Figma speeds up each stage of the design process, from producing slick user interfaces to disseminating interactive tests. Let’s explore What is Figma? In this guide will take you through the key features, cost, login choices, and efficient use of Figma.
What is Figma?
A cloud-based collaborative design tool called Figma is used to make and test websites and apps. Its best and unique feature is real-time team collaboration, that allows multiple people to work together easily. Above all, it is a vector-based design tool that is perfect for exporting files in JPG, PNG, SVG, and PDF formats and for making scalable shapes. Figma facilitates interactive prototyping and design with its two primary perspectives, the canvas and the prototype. Furthermore, it was released in 2016, and since then, millions of users have shared templates, designs, and widgets all around the world. For contemporary UI/UX designers who want to efficiently collaborate and improve their processes, this tool is important.
How to Login Figma?
According to user preferences, Figma provides three ways to log in to Figma: using an email address and password, using Single Sign-On (SSO) through Google to gain simpler access, or using corporate credentials through SSO integration for centralized access and increased security for enterprise users. Whether a user wants to log in for enterprise-level security, team collaboration, or personal use, these different login choices meet their demands. Following are the simple steps of each way;
1- Email address and password
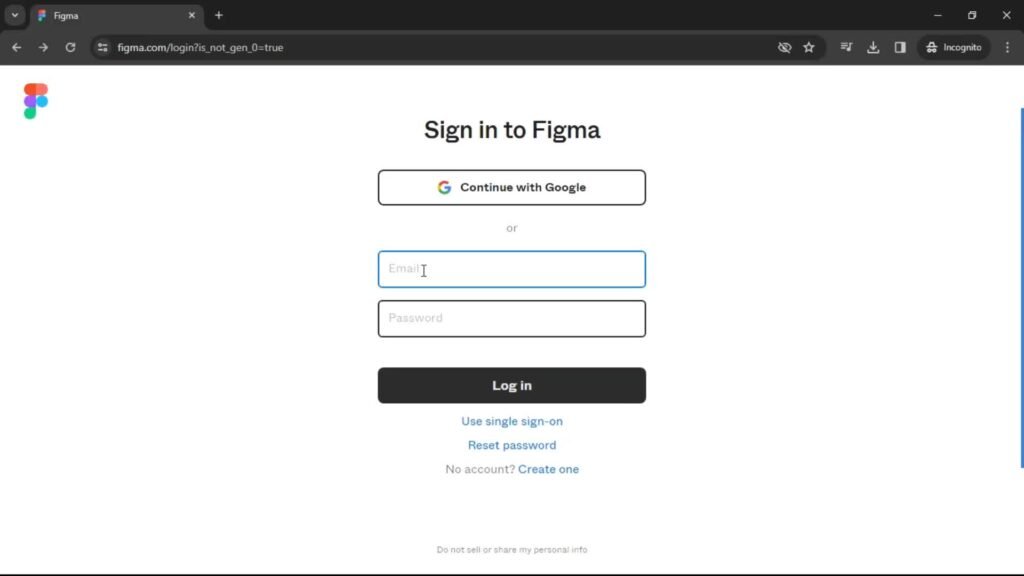
- Open the Figma desktop application or go to figma.com.
- From the navigation bar, choose Log in.
- Enter your Email address and then your Password.
- To get access to your account, click Sign in.
2-Google SSO
You can use Google SSO to log in if you use Gmail or work with a company that uses Google Workspaces.
- Open the Figma desktop application.
- In the top-right corner, select Log in.
- Select the option to Continue with Google.
- You’ll only be asked to verify your information if you’re already signed into Google.
- If not, click Next after entering your Google Phone number or email address.
- After entering your password, click Next to finish the procedure.
3- Third-party provider (SAML SSO)
Members can use their corporate email address to log in to Figma with SAML SSO. Hence, this implies that you will use the identity provider provided by your manager, such as Microsoft Entra ID, OneLogin, or Okta, to log into Figma.
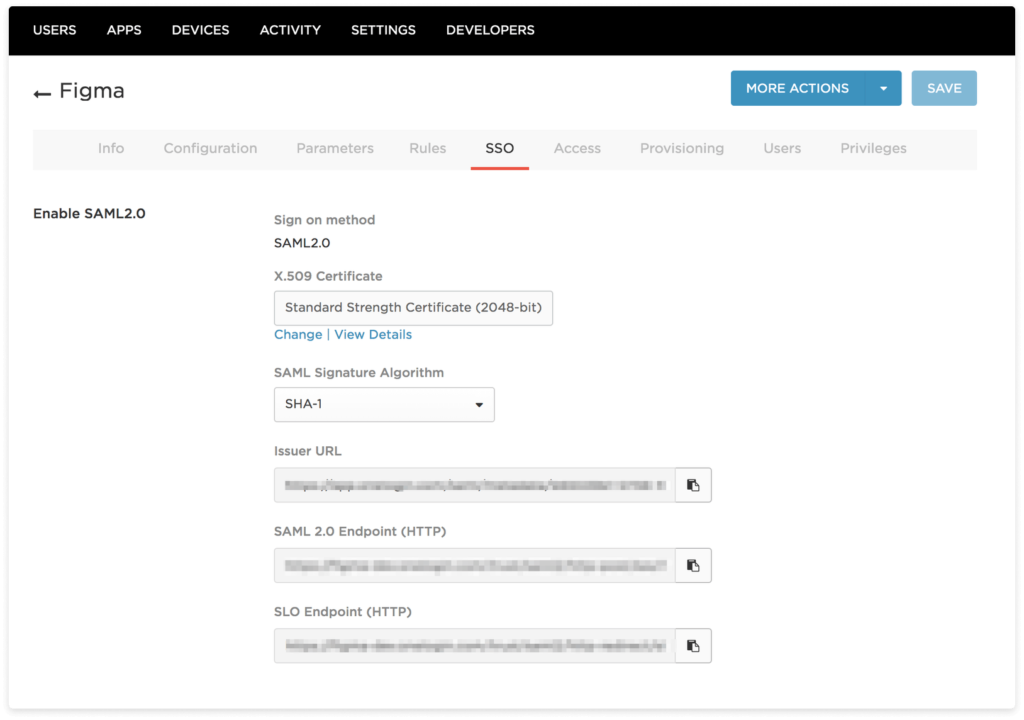
- Open the Figma desktop application.
- In the top-right corner, select Log in.
- Click the link labeled Login with SAML SSO.
- After entering your email address, click Log in.
- Figma will verify if your domain is registered with a company. You will be able to input your Password if the domain is registered.
- To access your account, click Log in.
How to Use Figma?
1 Step : Set up a Figma account
- Follow the steps given above to Login Figma and setup your account.
2 Step : Create and Modify New Frames
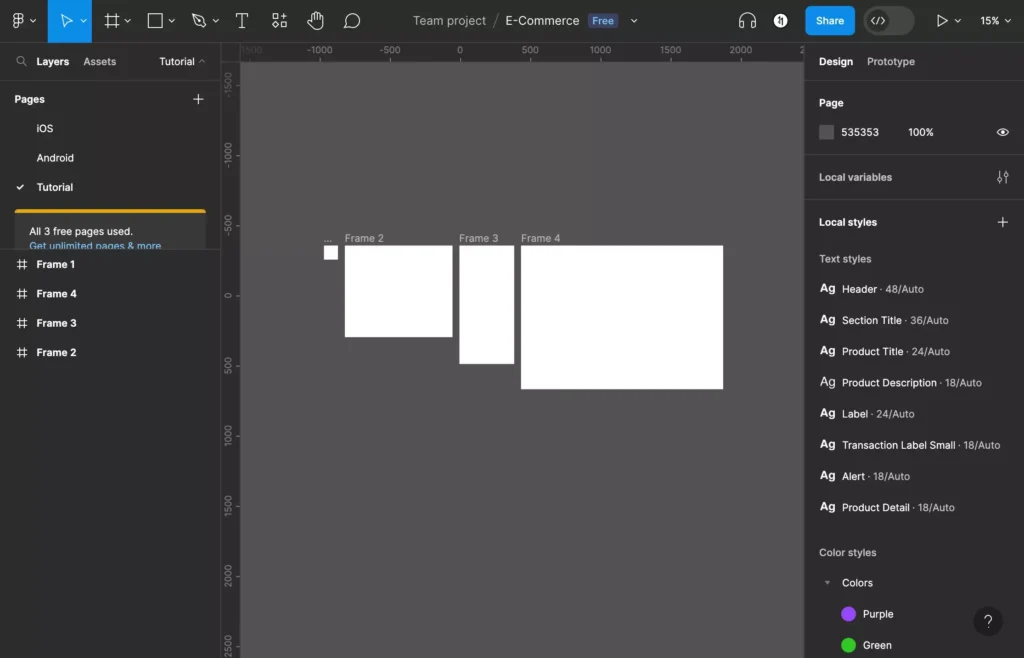
- Click the Frame Tool (the hashtag icon) or hit the F key on your keyboard after opening your design file.
- Choose a frame size (such as Surface Pro 8, iPhone, or Android) from the sidebar on the left, or use the mouse to build your own custom frame.
- Under the Design tab, you can change the width, height, color, and effects of the frame as necessary.
- To reorganize objects, use the Layers panel on the left. You can also group layers by selecting numerous things and using the keyboard shortcuts Ctrl+G (Windows) or Cmd+G (Mac).
3 Step: Insert Images, Text, and Other Objects
- You can use Place Image/Video from the Shape menu at the top, or you can drag and drop images inside the frame.
- Click the T icon, draw a text box, and begin typing to add text.
- Use the Properties option to change text attributes like font, size, and color.
- To add forms, use the Pen Tool (key P) or the Shape menu to add rectangles, circles, and icons.
4 Step: Save Your Styles
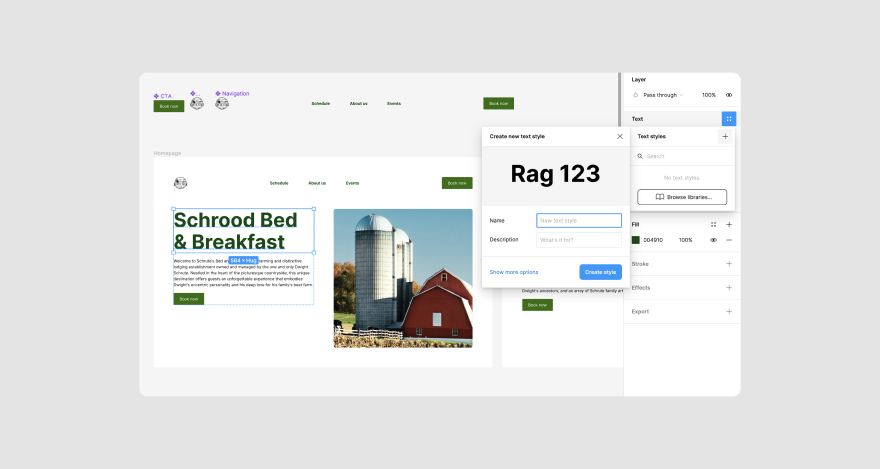
- Choose a text, shape, or object, then click the style icon (four dots) in the Properties menu to create a reusable style.
- Give your style a name, click the plus button, and then select Create Style.
- You must publish the styles to the team library to reuse them across projects. To do this, click the down arrow next to the file name and select Publish Library.
5 Step: Add Components
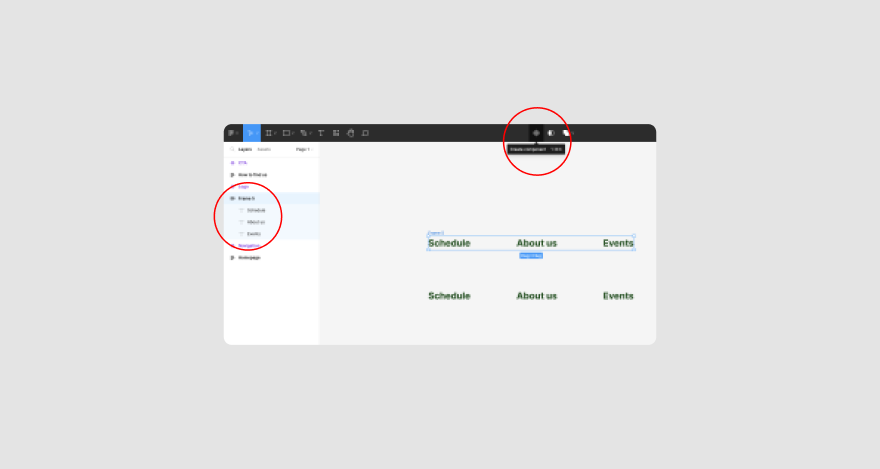
- Press Shift to pick multiple layers, and then click the Component icon (little diamonds at the top of the page) to group the layers together.
- After renaming the element, drag and drop instances of it into your design from the Assets panel.
- By heading to the file menu and choosing Publish Library (Pro or Enterprise users only), components can also be published to the team library for reuse in other projects.
6 Step: Make Auto Layouts
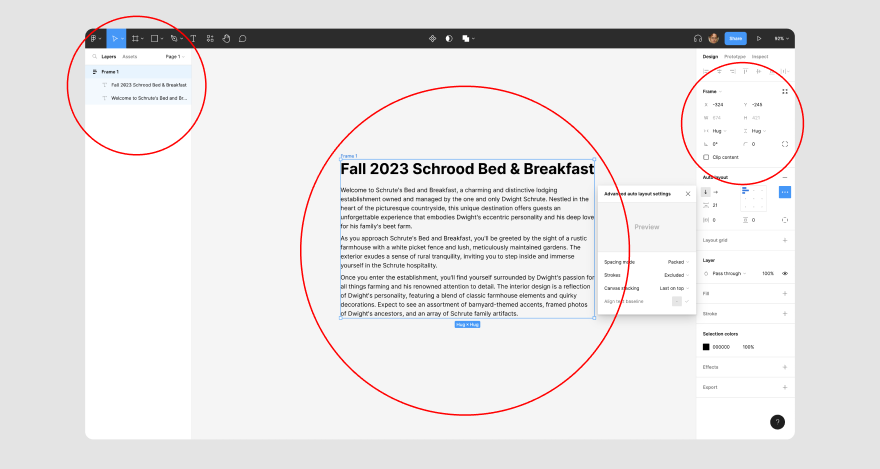
- When content is added or modified, Auto Layouts enable flexible scaling. Press Shift+A to apply auto layout to the layers you want to create.
- As you make changes to the content, the auto layout box resizes, assisting with responsive design.
- By grouping several objects together and applying auto layout to the group, nested auto layouts can be produced.
What are Figma Pricing?
Figma offers many types of price options to meet different customer needs, ranging from single designers to major organizations. Since, figma is available for free to use, in contrast to other design tools in the Adobe Suite and the majority of other possibilities. However, different features are offered by each plan, allowing teams to work together productively and expand their design procedures. Additionally, figma’s adaptable price options guarantee that there’s a solution that meets your needs, regardless of your experience level or level of management of an advanced design system. Check out the Figma Pricing chart below:

What are the Key Features of Figma?
1- Real-Time Collaboration
Team members can view each other’s modifications, improving transparency and speeding the design process, as opposed to working independently and adding to delays. This feature, which allows for a seamless working even during the pandemic, is extremely helpful in today’s world of remote work.
2- A Powerful Tool for WordPress Design
Figma is an excellent addition to WordPress design processes. Additionally, Figma allows developers to analyze, copy, and export CSS and assets straight from the design files, while skilled WordPress developers convert designs into fully functional websites.
3-Easy File Sharing
File sharing is quick and easy with Figma. Moreover, compared to more time-consuming approaches, designers can transmit files to clients with just a few clicks.
4- A Complete Design Solution
All the tools required to create design prototypes including all the features they need for a single, one-time fee are available on Figma’s platform.
5- Cloud-Based Design Access
UX/UI designers can effortlessly access their work from any internet-connected device with Figma’s cloud-based design platform. Large files don’t need to be transferred between computers
6- Figma Mirror
Figma Mirror lets web developers look at their designs on mobile devices, making it easier to analyze and enhance their work.
For more top-rated software options, be sure to check out our guide to the Best Web Design Software!
FAQs
Open the Figma plugin for Visual Copilot. Pick a design or layer from your Figma file. To generate code, click the button. Insert the HTML that was produced into your project.
Figma designers are in high demand. Since Figma’s popularity as a design tool has increased dramatically during the last few years.
The best feature about Figma is that files are not saved locally, and anyone you invite can join with ease to view and edit them.
Figma easily covers the gap between design and development and doesn’t require any previous experience of coding.
Wrap Up!
As the preferred design tool, Figma stands out for bringing together affordability, robust capabilities, and teamwork in one package. All things considered, Figma makes every step easier, whether you’re creating beautiful UI/UX designs, creating prototypes, or working in real-time team collaboration. For designers of all skill levels, its cloud-based access, easy login choices, and affordable pricing make it indispensable. So, are you prepared to advance your designs further? The solution is Figma!





[…] more details such as How to Login Figma, check out our guide on What is Figma? to learn […]